Trampolines are not only for the backyard but can also be installed indoors. So, if you’re searching for a complete guide to build a trampoline room in house: 2 types, this article is the cherry on top!
Building a trampoline room in the house can be challenging, and things can go south without the right guidelines. To install the trampoline, you need appropriate tools such as screws, hammers, nails, and many more.
And believe me, installing a trampoline room can be fun and less stressful when you have everything beside you!
Through this blog, we’ll let you know the two types of trampoline room options you can go for and the simplest trampoline building guide applicable for both the types.
The Two Types of Trampoline Room Building Options You Can Go for
Well, there are actually two types of trampoline building options (it’s not the process as it’s similar for both types). Through this section, we’ll describe the two options you can go for when it comes to getting a trampoline room in your home.
The Super-Expensive Trampoline Room
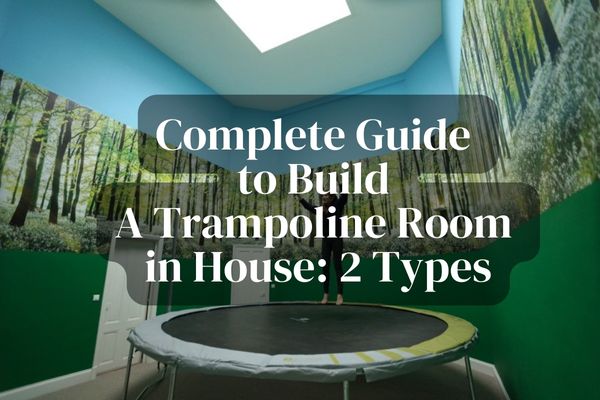
If you want to construct your “dream trampoline room,” then it’s obvious that money is not an issue for you. In this case, you’ll need to find a room that has enough space to make your trampoline room a place of complete happiness or joy!
Moreover, it should also have proper ventilation along with several windows and an astounding ceiling. After you’re all set, stuff in as many spongy toys and items as you feel like. But always ensure that you have proper safety nets (check the section below for the installation process) to keep yourself and your children safe.
Also, ensure that you always go for the “best quality mats” with proper foam padding for soft and smooth landing. Once you have installed your trampoline (the below section talks about the installation), you can add decorations and playsets to make this room a jam-packed fun zone.
Affordable Trampoline Room
You can’t stretch your pockets for a luxurious trampoline room? Well, no worries, as most homeowners can’t actually binge on “All-in” to make a Disneyland at home.
So, if you want to go for a budget-friendly trampoline room, in that case, you need a certain space where you can easily install your trampoline. It doesn’t need to be super large; an average-sized trampoline would be more than enough here.
However, the requirement for paddings and nets stays the same as you really won’t want to compromise the safety of your kids. If you want, you can add some small fluffy toys to make them more fun and enjoyable.
How to Build a Trampoline Room in House? (Applicable for Both Types)
Here in this section, we’ll be skimming through the step-by-step process which can help you build a striking trampoline room by yourself. Before we jump to the trampoline building guide, below are some of the essential tools you’ll require.
- A net for safety
- Trampoline
- Drill
- Screws
- Hammer
- Nails
- Tape measure
- Saw
- Foam padding and a ladder are optional preferences.
Location of Trampoline
Finding the right location in your room is the first thing you need to do to install the trampoline. You must select a large place, enough for a trampoline to fit in. The location matters because the children will play in the room, and they might get hurt if they play near windows and doors.
Moreover, the ceiling is one of the biggest concerns too! Since they’ll be hopping and jumping off, the ceiling height will also matter. We suggest measuring the dimensions first and, according to that, purchasing the trampoline.
Fix the Frame
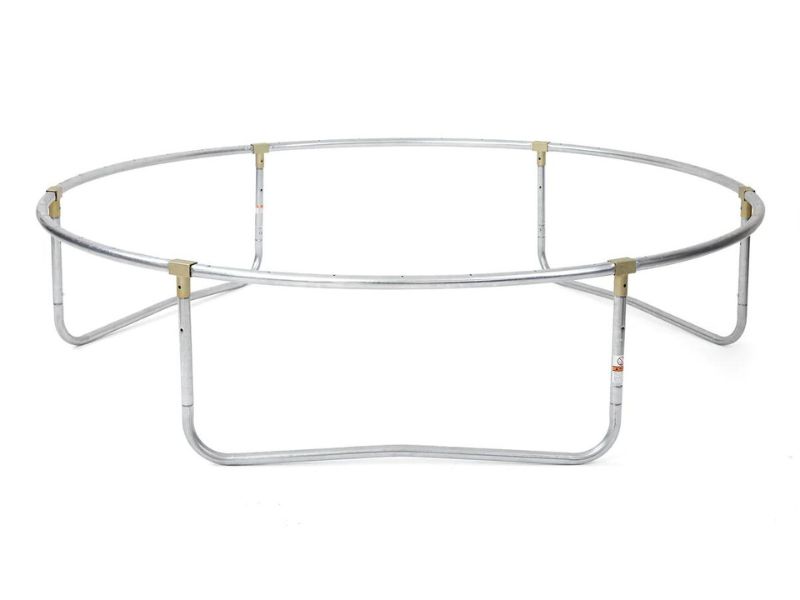
Building a frame is necessary as it will support the trampoline. You have to build the frame according to the shape of the trampoline. For instance, if you are installing a triangle-shaped trampoline, you can use four boards to make the frame.
You can use a saw to cut the boards; ensure that the woods are thick enough to support your trampoline. After that, measure whether these frames are equal or not. Once done, attach them by using screws and nails.
Note: Ensure that the frame is sufficient to hold the weight, as it will eventually support the trampoline.

Attach the Frame to Trampoline Mat
Trampoline mat should be installed right when the frame is ready. Spread the matting over the frame and drill through it. After that, tightly screw it down. This process will keep it in place while jumping.
Install the Trampoline
Before embarking on this step, go through the checklist that you have followed in the above stages. Place the trampoline inside the room, lay it on the ground and then raise it to put it in the frame. Reprise the process for another side of the trampoline.
Experts’ Tip: Remember, when the trampoline is in the frame, you must screw it to secure its position. Ensure that these screws are tight enough to hold the trampoline firmly, so it doesn’t get displaced from its position. You can hop a few times to check it (if you want).
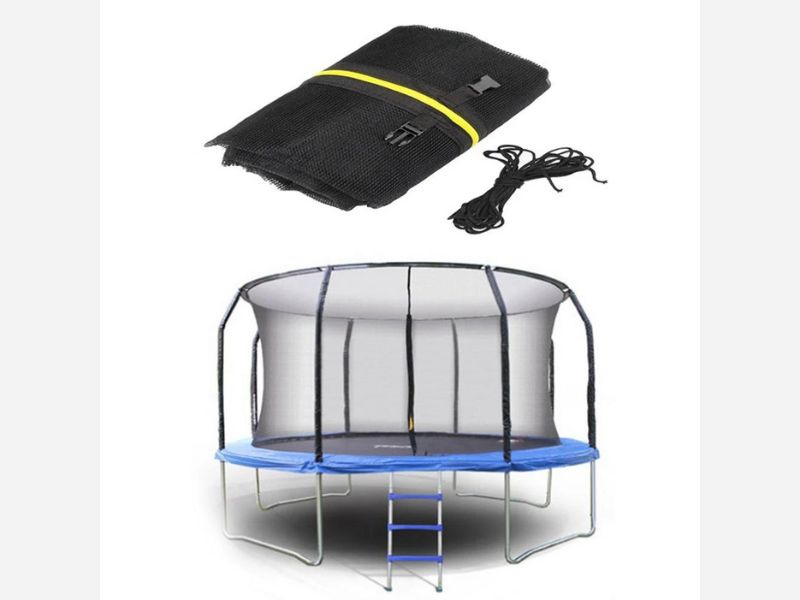
Add Safety Net
No ifs and buts when it comes to your child’s safety, right? So, don’t forget to install a safety net. Kids don’t take safety measures while playing, so there is a possibility that they can fall over and get hurt.
Therefore, buy the appropriate net according to the trampoline size. And screw them accordingly onto the frame to ensure that the net won’t get displaced.

Add Padding
Padding is also one of the safety gadgets that can help you prevent severe accidents. The foam padding can provide a soft and smooth texture, so children won’t get hurt if they bounce off the ground.
You can attach the padding on the floor by using duct tape. Ensure that the tape is firm enough to hold the padding well.
Add a Ladder
You can add a ladder, so your toddler can reach the trampoline effortlessly. There are ample trampoline ladders available in the market. Ensure that the ladder matches the trampoline’s height perfectly.
On the upper part of the trampoline ladder, there is a hook that you have to attach to the trampoline frame underneath the spring pad. Use screws and nails to secure the ladder to the frame.
Note: These kinds of ladders are specially manufactured for trampolines, so avoid using other ladders.
The Final Touch Up
Your trampoline room is now ready for fun! If you want, you can also install a music system to enhance the excitement. You can also install a foam cube pit and other accessories to make it more attractive. However, no matter what, avoid sharp and hard objects in this room to ensure proper safety precautions.
Bottom Line
So, with this complete guide to build a trampoline room in house: 2 types, you can make a whole new playing zone for your little ones. However, ensure that you or your kids jump without shoes, as ankle twists and injuries are always possible.
Yet, if you still face issues somehow, you can always take assistance from an expert.
Last Updated on August 25, 2023

