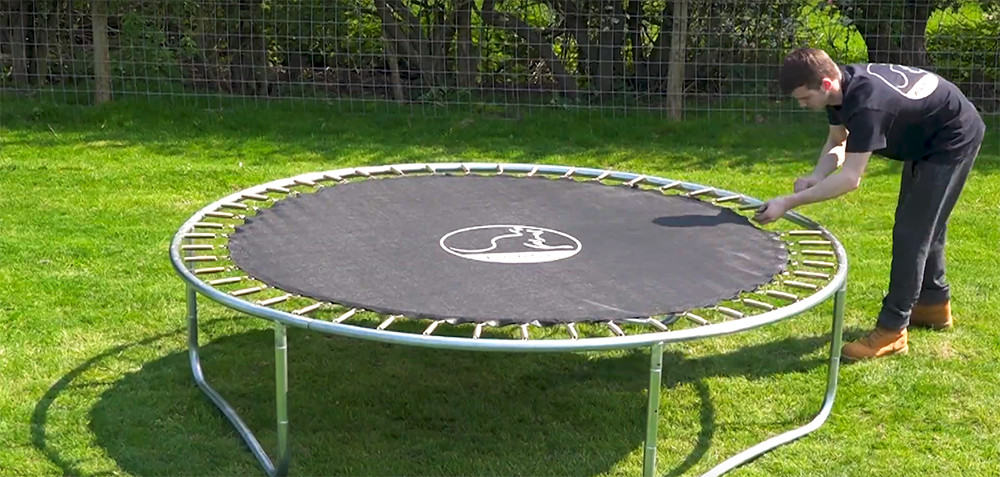
Trampolines have been one of the go-to recreational equipment for many families. They come in different shapes and can be put in backyards for some jumping routine. When you purchase a trampoline, you need to assemble it from scratch.
What if you relocate your home? How are you going to carry the trampoline? This is where you need to learn how to disassemble a trampoline: 6 steps of trampoline disassembling.
By disassembling a trampoline, you can protect it from harsh weather when it’s not in use. Dismantling a trampoline is necessary for storing purposes as well.
Installation can be tricky; similarly, it’s not a cakewalk when you take apart a trampoline. This article will teach you the necessary steps to detach every component and ease your worries.
How To take a trampoline apart?
Whether you are moving the trampoline to a new location, storing it for the winter, or need to disassemble it for maintenance or repair, there are several key steps to follow.
The first step is to remove the springs from the mat using a spring tool. Then, disconnect the netting and enclosure poles by removing screws or bolts that hold the poles in place or simply disconnecting the poles from the frame. Next, remove the frame pads and enclosure netting by unhooking them from the frame. Finally, disassemble the frame and legs by removing any screws, bolts, or clips that hold the frame together, as well as separating the legs from the frame.
It is essential to follow the manufacturer’s instructions and use the proper tools to avoid damaging the trampoline or injuring yourself.
How to Disassemble a Trampoline: 6 Steps of Trampoline Disassembling
Knowing how to take a trampoline down can help you to store the piece of equipment safely and protect it from unwanted weather hazards. Even if you want to shift places, you should not just move the trampoline, disassemble it and then carry it with you. Here is what you must do:

Step 1: Gather the Tools
- Protective gears like hand gloves
- Electric drill
- Phillips-head
- Spring tool
Step 2: Take the Enclosure Pole and Safety Net Out
Many trampolines have safety nets attached to poles. If you don’t have one like this, then your work is quite easy from here. If your trampoline consists of poles, a safety net, and a ladder, then you better remove them.
Use fasteners and screws to attach the poles to the trampoline. This keeps the trampoline in place.
Keep the screws in a labeled pouch so that the next time you assemble the tramp, you will know where to put the screws. Now take the net out and fold them. Move on to the ladder and demount them as well.
Note: Trampoline poles and nets have varying pole setups depending on the manufacturer. Some will use simple strappings and clips, whereas some use fasteners.
Step 3: Remove the Safety Pad
In this step, you will need to remove the trampoline safety pad. Safety pads are tied to the trampoline. You will need to untie the knots from the underside of the trampoline. If your trampoline has fasteners, remove them and store the pad aside.
Make sure you fold the safety pad and then put it aside.
Step 4: Remove the Springs
This is the most important step in disassembling a trampoline. As you already know, trampoline mats are stretched out and attached with springs. Every trampoline is different and will have a varying number of springs on them.
Use the spring tools – a device that has a handle, metal bar, and hook. It is used for pulling the springs out of their position.
Note: You can start with any spring you like. After dismantling one, move to the next. There is no particular order to be followed.
An Alternative Way to Remove Springs
If you don’t have the spring puller with you, you can try another method to remove the springs one by one. To begin with, you will need a spare spring. Use this as a puller tool. Take the spare spring and attach it to the end of the trampoline spring, where it adjoins the frame.
Now pull the spare spring, and the attached spring should extend. Now pull the hook for the connector. You are done! Follow this method to take all the springs off your trampoline.
Step 5: Remove the Mat
When all the springs are taken off, the trampoline is only left with the frame. The mat is already detached, so you need to fold it to store it properly. Do it by putting it on the ground. Use one fold at a time. Start by making a half-fold, then repeat the half-fold until you are satisfied.
Step 6: Finally, the Frame Needs to Be Removed
With most of the components out of the way, you are left with just the frame. The Phillips-head and electric screwdriver will be your best friend in this step. If you already know how to install a trampoline frame, then you are already familiar with all the screws and fastening methods.
You are going to reverse the method and unfasten the screws. Once it’s done, detach the legs from the ring. One way to do it is to apply force on the ring to dismantle the legs. Once the legs are disassembled, the outer ring needs to be removed.
Take apart the outer ring by twisting it from the joints. With the outer ring and T-joints unfastened, you have completed the disassembling procedure. Put the T-joints, legs, and ring in the storage bag, and you are good to go.
Taking Down A Trampoline
Final Words
If you know how to install a trampoline, you should also know how to disassemble a trampoline. You never know when you might relocate your dwelling space, so it’s wise to learn the traits. Sometimes it’s good to take apart the trampoline and store it in a safe place to shield it from harsh weather.
We have provided 6 steps of trampoline disassembling to make things easier for you. We advise you to wear safety gloves at all times. You might be dealing with rusted springs. Thus, it’s necessary to protect your hands first.
When removing the components, be patient; start with the nets and poles. Then move on to the safety pads and springs. Lastly, detach the frame and put each part in the trampoline storage bag. Bingo!
Frequently Asked Questions
Is Disassembling a Trampoline a Tough Procedure?
It is complex but not impossible. It is not as hard as setting up the trampoline in the first place. All you have to do is reverse the installation process. It can be an easy run if you are knowledgeable.
How Long Does It Take to Disassemble a Trampoline?
Well, the time depends on the trampoline size and components that are in the work. If it is a large trampoline, then it can take 4-5 hours. If you are dealing with smaller ones, then it can take up to 1 or 2 hours.
Can I Disassemble a Trampoline Alone?
Yes, you can! The dismantling process usually doesn’t require helping hands. It’s not harmful if someone eventually helps you. Your work can be finished faster than you can imagine.
Can I Move the Trampoline Without Disassembling It?
It’s not wise to move the trampoline without removing the parts from it. Trampolines can be heavy, and you alone might not be able to take them from one place to another.
Moreover, there are chances you might injure yourself while trying to lift it. It’s safe to dismantle the parts and then reassemble them again if needed.
Last Updated on August 14, 2023

