Your backyard should be a place to relax and enjoy quality time with your family. And enjoyment refers to fun activities like trampolining. You and your loved ones can enjoy blissful times without going far from the house.
Well, it isn’t all about fun and excitement; trampolining is physically and mentally beneficial. Your kids will go through a perfect childhood with a trampoline. If you’ve started considering the idea, you might want to know about in ground trampoline, the cost and how to install it!
We believe we can help you with the ins and outs of it. So, keep reading till the end without skipping any of it.

Inground Trampoline Costing
One of the greatest trampoline options is Inground trampolines. Mostly because they are permanent and safer. Well, you’ve guessed it right, along with being more convenient, it’s more expensive than other trampoline constructions.
The concept is quite similar to inground pools. Actually, there are many costly works for sheeting it up.
First, the indoor trampoline kit charges as much as an above-ground one. The price range can be around $300 to $2000. Moreover, to dig the hole, you’ll have to hire a professional. This is where you need to pay extra, around $400 to $1500. The cost will vary depending on your ground type (extra bucks for hard ground).
Lastly, retaining inside the hole would cost around $2,000 for an average 14-foot trampoline.
Check the video to know how to build an in-ground trampoline on a budget-
Are Inground Trampolines Worth It?
Having an inground trampoline in your backyard can help you with unlimited advantages. As we install it in the ground, it won’t move while we’re jumping on this, which is a great safety feature.
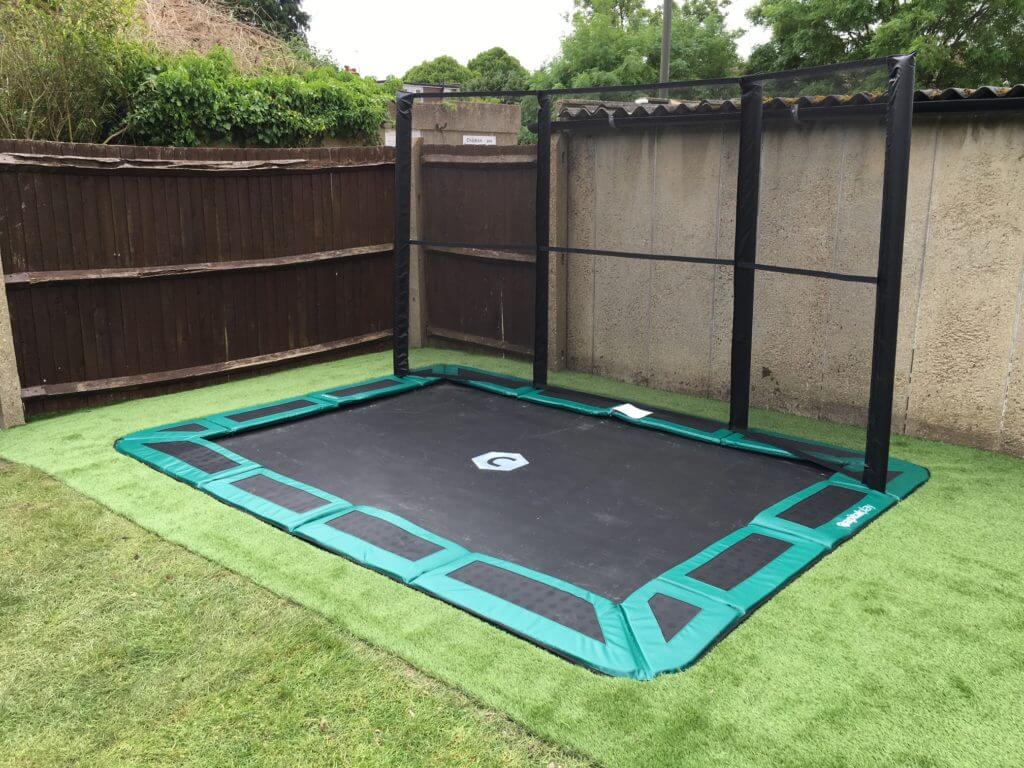
Inground trampolines tend to have a surface flush on the rest of the yard so that people won’t fall far to the ground and get injured.
You can use safety nets with inground trampolines too. There’s another great benefit of inground trampolines. You won’t need to worry about yard maintenance with inground trampolines. No hassle of moving or mowing, or even landscaping them.
Step-by-Step Inground Trampoline Installation Guide
Looking for a reliable inground installation guide? Got your back! Follow the steps mentioned below.

Step-1: Place the Frame & Mark the Area
You need to start with assembling the frame. And it’s also pretty simple to assemble it; just drag it to the marked area. Assembling it in the area you’ve planned to install the trampoline would be more convenient.
While digging, ensure that the holes for the springs are facing upwards. Yes, you surely can do it all by yourself, but more people can do it quickly and effortlessly!
After finishing the frame, you need to mark the area you want to dig. You can use spray paints or even paintbrushes. Add 2-5 inches to the outline of the frame. This way, placing it in the hole will be easier. You can also backfill it whenever you want.
Now that you’re building the frame and marking the area up, you can start by taking off some turfs. Not all of them, just enough to backfill your tracks.
Step-2: Dig & Dig
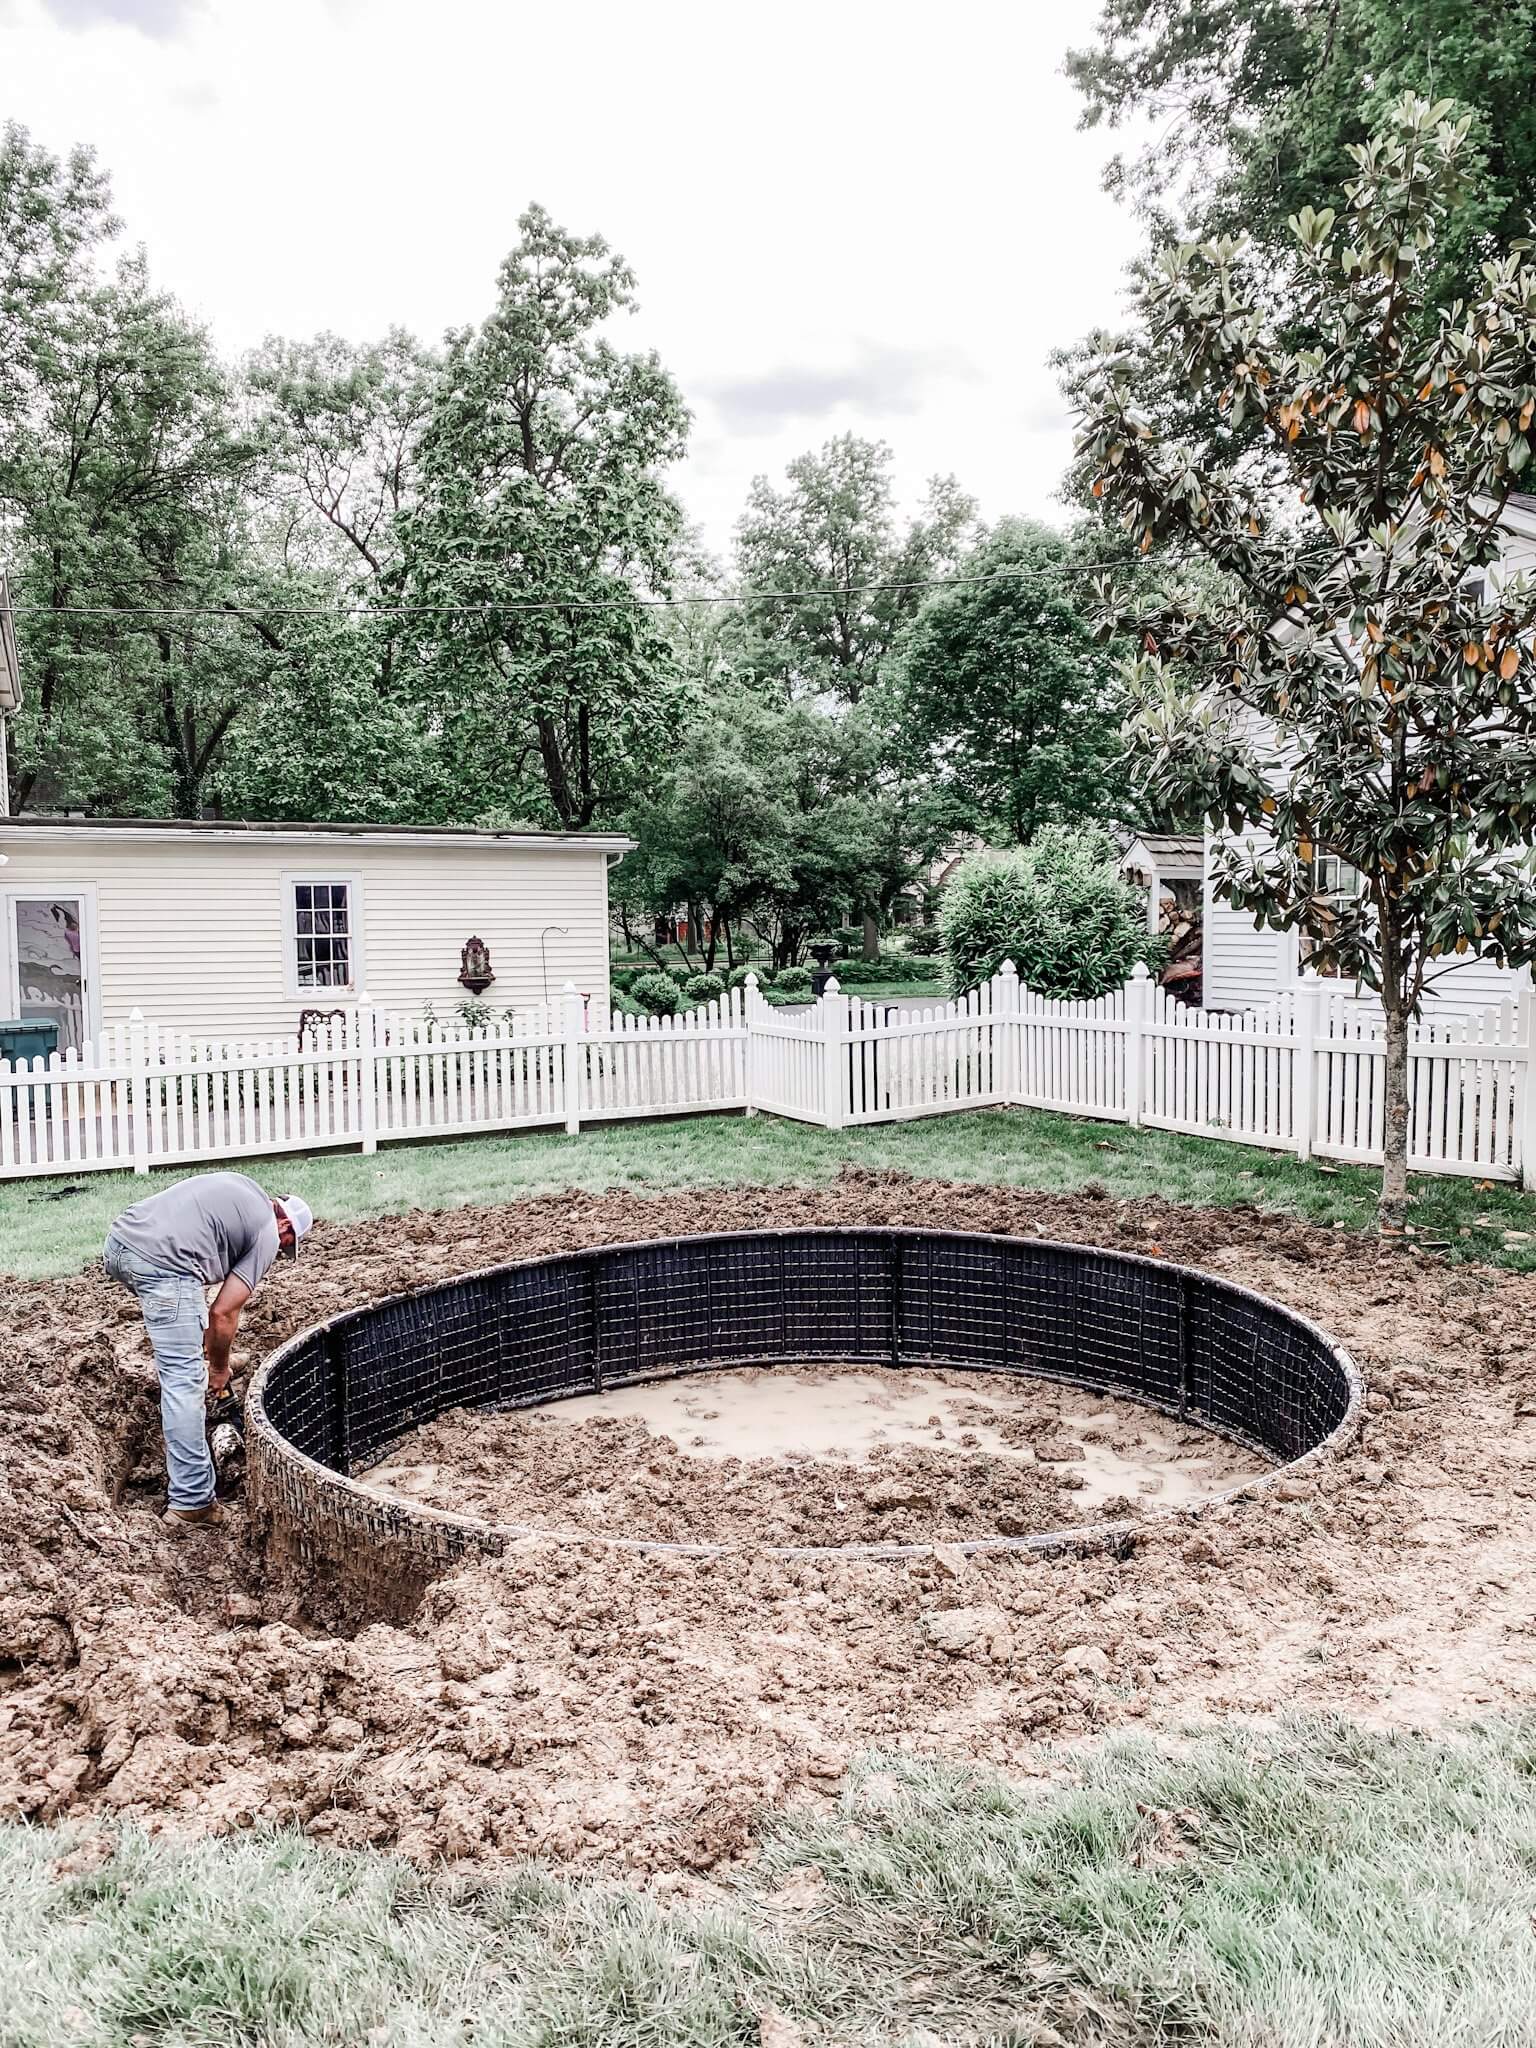
After saving up the turf, you can start digging the hole. Go down to the shelf level. Check the manual from the trampoline to get a clear idea about the depth. You are going to need a measuring device for digging the hole. It’s recommended that you measure the hole after digging every few feet.
Once you dig the first hole, move to the second one. Start with marking up the area. You can make the sides of the hole go straight down. It would be better if they went steep. Moreover, try to maintain a good angle so that the soil amount you need to take out gets minimized.
Step-3: Place the Frame Inside the Hole
As you’re done with digging the holes at this point, it’s time that you completely assemble the frame. Attach the walls with the holes now. Try to start with the top holes. Gradually move to the bottom.
After you’re done with attaching the holes and walls, set the frame inside the hole. Ensure that it’s placed on the shelf for the perfect fit. If it doesn’t fit appropriately, you’ll need to adjust it in a different direction.
Now, if you think the frame can fit, you can start laying the membrane down. Lower the frame to the end of the hole.
Step-4: Time to Work with the Springs
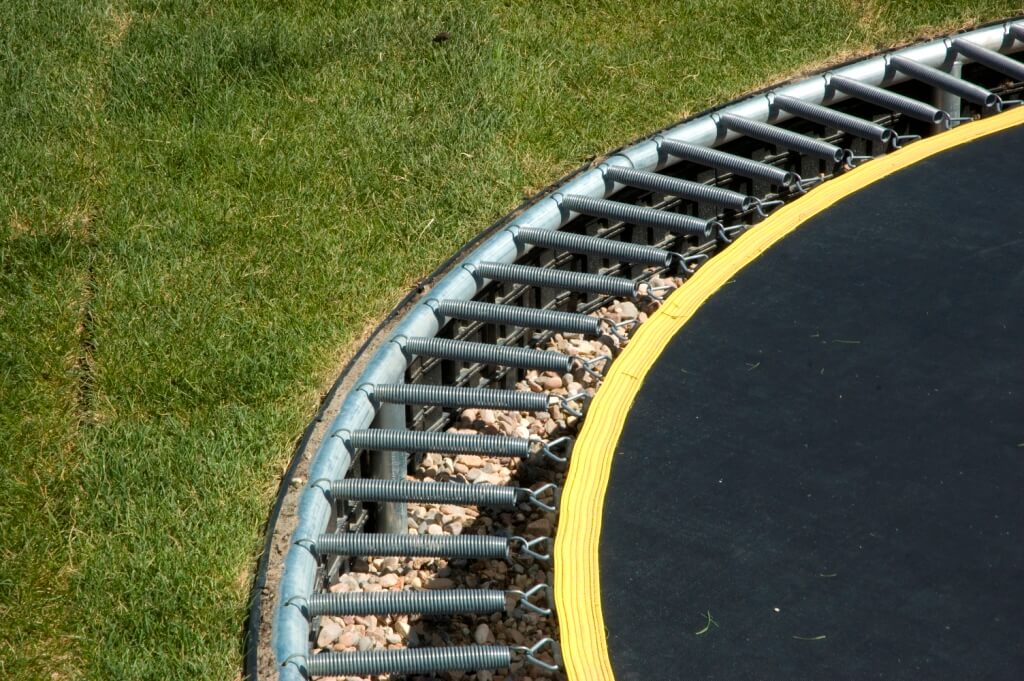
After placing the frame inside the hole, attach the mat to the springs. The corners and the middle of the trampoline would depend on the shape of the inground trampoline you have. If it’s rectangular, start with four corners and the middle of the sides and move towards the other area from there.
Once the springs are placed, you’ll find the frame moved from its previous place. So, you need to test the trampoline by jumping up and down at this point so that you can be assured that everything’s safely installed.
If everything fits the shoes, start backfilling the area between the outer side of the retaining wall and the ground.
Be very careful while doing so; otherwise, you might get soil inside the bowl area. Now it’s time to use the turf you have saved after packing it down tightly.

Step-5: Connect the Pads
The last part of the installation process is to get on the pads. It would be best to use all the toggles on the pad with the round ball. After attaching them, flip the pad over onto the trampoline and start attaching it while shuffling the toggles inside the frame. Finally, you’re all set to binge and hop!
Are in-ground trampolines safer?
Trampolines are a popular source of outdoor fun and exercise for many families, but they can also pose safety risks, particularly when used improperly. To minimize these risks, in-ground trampolines have emerged as a potentially safer option.
At first, understand the main differences between in-ground and above-ground trampolines. Above-ground trampolines sit on legs or support that elevate them off the ground, while in-ground trampolines are installed flush with the ground, so the jumping surface is at ground level. This means that in-ground trampolines don’t have the same risk of falls from height as above-ground trampolines do, which is one of the main reasons they are often considered safer.
Because in-ground trampolines are flush with the ground, they typically don’t require the same type of safety netting or enclosures that above-ground trampolines do. This can make them less visually obtrusive in a backyard setting and may also reduce the likelihood of falls or injuries associated with colliding with the enclosure or netting.
However, it’s worth noting that in-ground trampolines still carry some risk of injury, particularly if used improperly or without appropriate safety measures in place. For example, while falls from a height may be less of a concern with in-ground trampolines, users can still be injured if they land awkwardly or collide with another person while jumping. In addition, in-ground trampolines should still be installed on a level surface and should be surrounded by a soft, impact-absorbing material to help prevent injuries in case of falls.
So, while in-ground trampolines may be a potentially safer option than above-ground trampolines in some respects, they are not without risk. Ultimately, the safety of a trampoline depends on a variety of factors, including proper installation, appropriate use, and adequate supervision. It’s vital for anyone considering purchasing a trampoline to carefully weigh the potential risks and benefits of both in-ground and above-ground options and to take steps to ensure safe use.
In-Ground Trampoline Installation
Bottom Line
Trampolines are classics! They remind us of our childhood and help us live it all over again. And without question, an inground trampoline is beneficial by all means. It’s safer, more fun, and permanent but not pocket friendly; we must warn.
You should think of it this way – once it’s installed, you’ll have lifelong fun hours inside your house.
So, we hope this article on in ground trampoline – cost and how to install would simply be the cherry on top to get your trampoline loaded in your area!
Frequently Asked Questions
1. Can you put a normal trampoline underground?
Yep, you surely can. It can go inside the ground if you dig a 3-foot-deep hole for kids and 5 feet for infants. But shorter than 3 to 5 feet can’t prevent your legs from hitting the ground. As a result, you might get serious injuries. So, proceed with the right measurements.
2. Do you need a net around an inground trampoline?
Safety nets around inground trampolines aren’t mandatory. However, experts recommend it. The safety standards are 50-50 if you don’t get the safety nets. But unfortunately, most buyers don’t want to spend money on this significant thing.
3. How much space do in ground trampoline need?
The amount of space an in-ground trampoline requires will depend on its size. As a general rule, a circular trampoline will require a clear space of at least 2 feet around the perimeter.
Last Updated on August 25, 2023

